How to install WI-FI Bridge
The BLACK X Wi-Fi Bridge enhances your smart lock by enabling remote access and control. This guide will walk you through the installation process to ensure a seamless setup.
By following these step-by-step instructions, you'll have your Wi-Fi Bridge up and running in no time. Let's get started!
Step 1: Unbox and Prepare Components
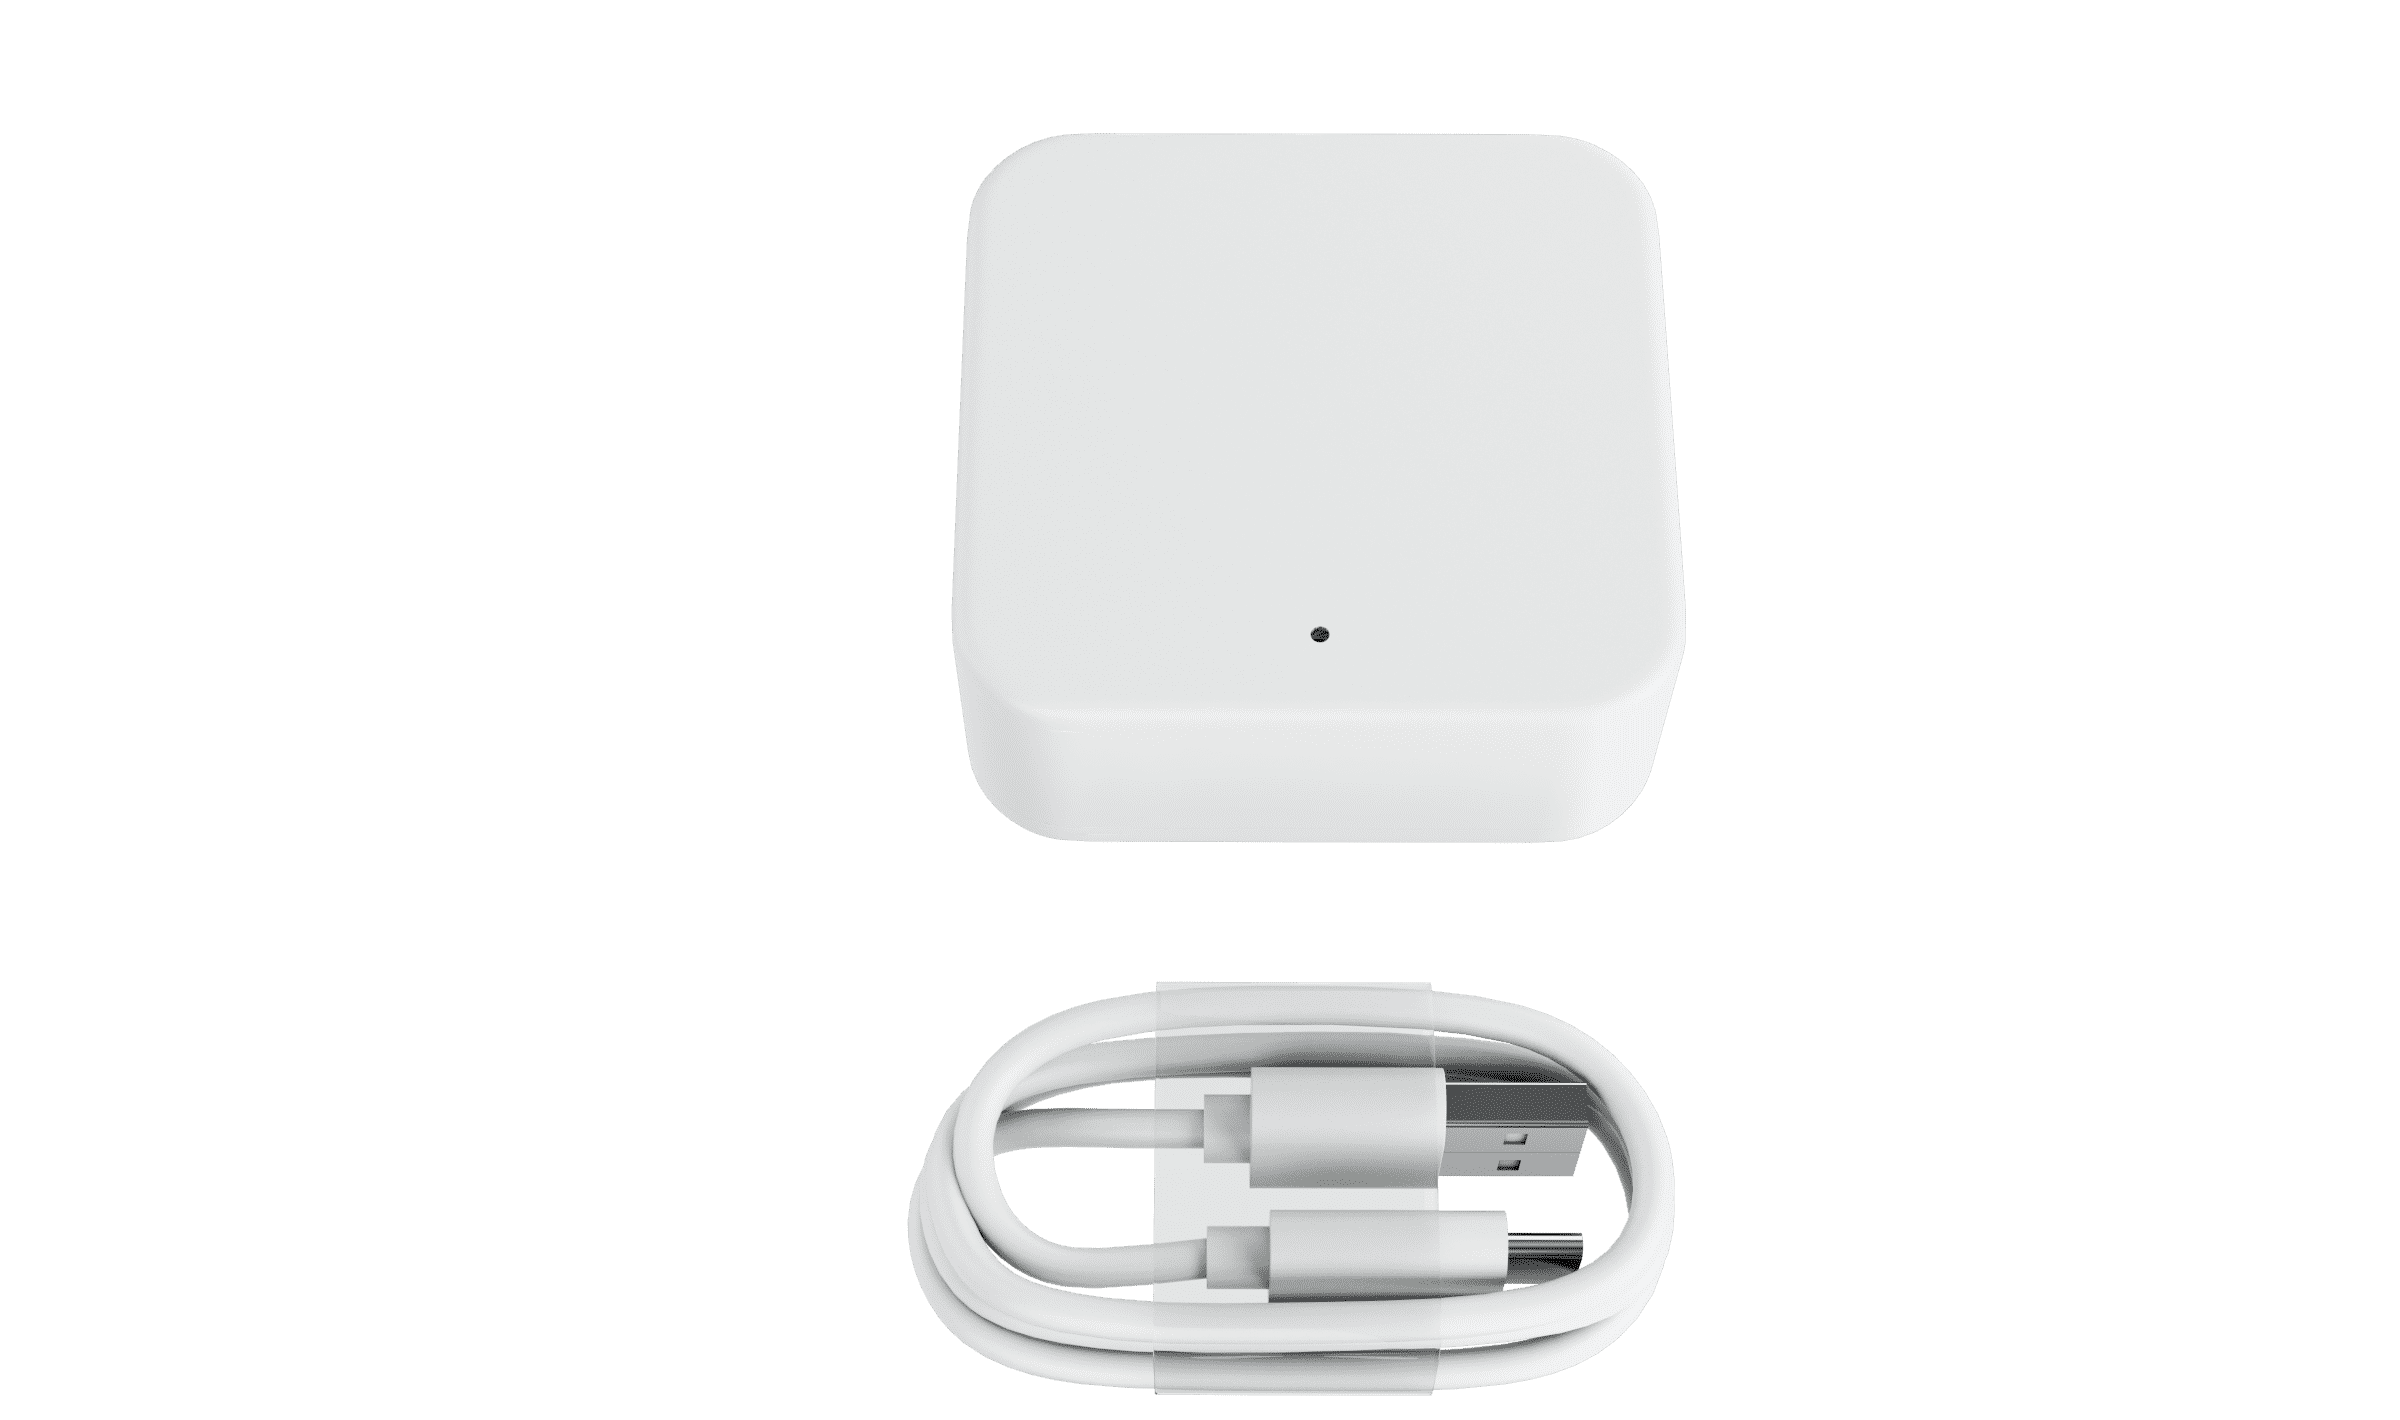
Included in the Box
BLACK X Wi-Fi Bridge
Type-C USB Cable
Quick Start Guide
Preparation
-
Ensure you have access to a stable power socket near your Wi-Fi router. - Confirm that you have already downloaded and set up the BLACK X App on your smartphone as part of the smart lock installation process.
Note: A USB power socket plug is not included with the Wi-Fi Bridge. You will need to purchase a compatible USB power socket plug separately to connect the bridge to a power outlet.
Step 2: Understand the Light Indicators on the Wi-Fi Bridge
Red and blue: Standby mode; ready to pair.
Red: Network failure or timeout
Blue: Pairing in progress or activated mode.

Troubleshooting:
If the indicator flashes red, unplug the Wi-Fi Bridge, wait for the lights to turn off completely, and then reconnect it to reset the pairing mode.
Step 3: Pair and activate the Wi-Fi Bridge on the BLACK X App
- Open the BLACK X App on your smartphone.
- Go to the menu and select “Bridges.”
- Connect the Type-C USB cable to the Wi-Fi Bridge and plug it into a power source using the compatible USB power socket plug. The bridge will power on and the indicator will flash red and blue.
- In the app, press the “+” button and select the relevant Wi-Fi bridge.
- Follow the prompts to pair your Wi-Fi Bridge. When the indicator starts flashing blue, the pairing process is in progress.
Important: complete this step promptly - the pairing window lasts about 3 minutes. If it expires before pairing finishes, the indicator turns solid red, meaning the process did not complete successfully.
Troubleshooting:
If the indicator flashes red, unplug the Wi-Fi Bridge, wait for the lights to turn off completely, and then reconnect it to reset the pairing mode.
Step 4: Connect the Wi-Fi Bridge to Your Home Wi-Fi
- In the app, select “Wi-Fi Name” and choose your home Wi-Fi network. Please ensure you choose a Wi-Fi network that supports 2.4 GHz.
- Enter your Wi-Fi password and confirm.
- Assign a name to your Wi-Fi Bridge in the app and press “OK”. Once connected, the indicator light will flash blue every 1-2 seconds.
Tip: copying and pasting your Wi-Fi password is faster and more reliable than typing it - the connection window lasts about 3 minutes, and entering it too slowly can cause the window to expire before the Bridge connects.
Troubleshooting:
If the app displays “Initialization Failed,” or if the indicator turns solid red, double-check your Wi-Fi password, ensure the Wi-Fi Bridge is within a 7-meter range of your router, and try again from the beginning of this step.
Step 5: Approve remote activation and test Your Wi-Fi Bridge
- Open the BLACK X App on your smartphone.
- Enter the setting of your BLACK X lock⚙️. click on “Lock remotely” and choose “activate”.
- Move out of the range of your home Wi-Fi network (e.g., step outside so you are out of your Wi-Fi range).
- Use the BLACK X App to remotely unlock your smart lock.
- Congratulations! You have successfully installed your Wi-Fi Bridge.
Troubleshooting:
If the lock does not respond:
- Ensure the Wi-Fi Bridge is powered on and properly connected to your Wi-Fi network.
- Verify that the Wi-Fi Bridge is within range of your lock.
- Check the green Wi-Fi connection indicator in the app (displayed on the home page of your BLACK X smart lock) to confirm the lock is connected to the Wi-Fi.
If the issue persists, revisit the setup process and repeat the pairing steps as needed.
Looking for more?
Our assistant can help refine your search, or you can reach our support team directly.